Tuesday, August 26, 2014

Bass Sax Neck Patch.


Gross. 
This is the neck off of a pat. 1914 conn, Satin gold, bass sax. The horn belongs to one of the mummers bands from Philadelphia and it was beat.  I knew going in that this wouldn't be the most glamorous repair in the world. I just wanted it to be solid and stand up to another 50 years of string band music.

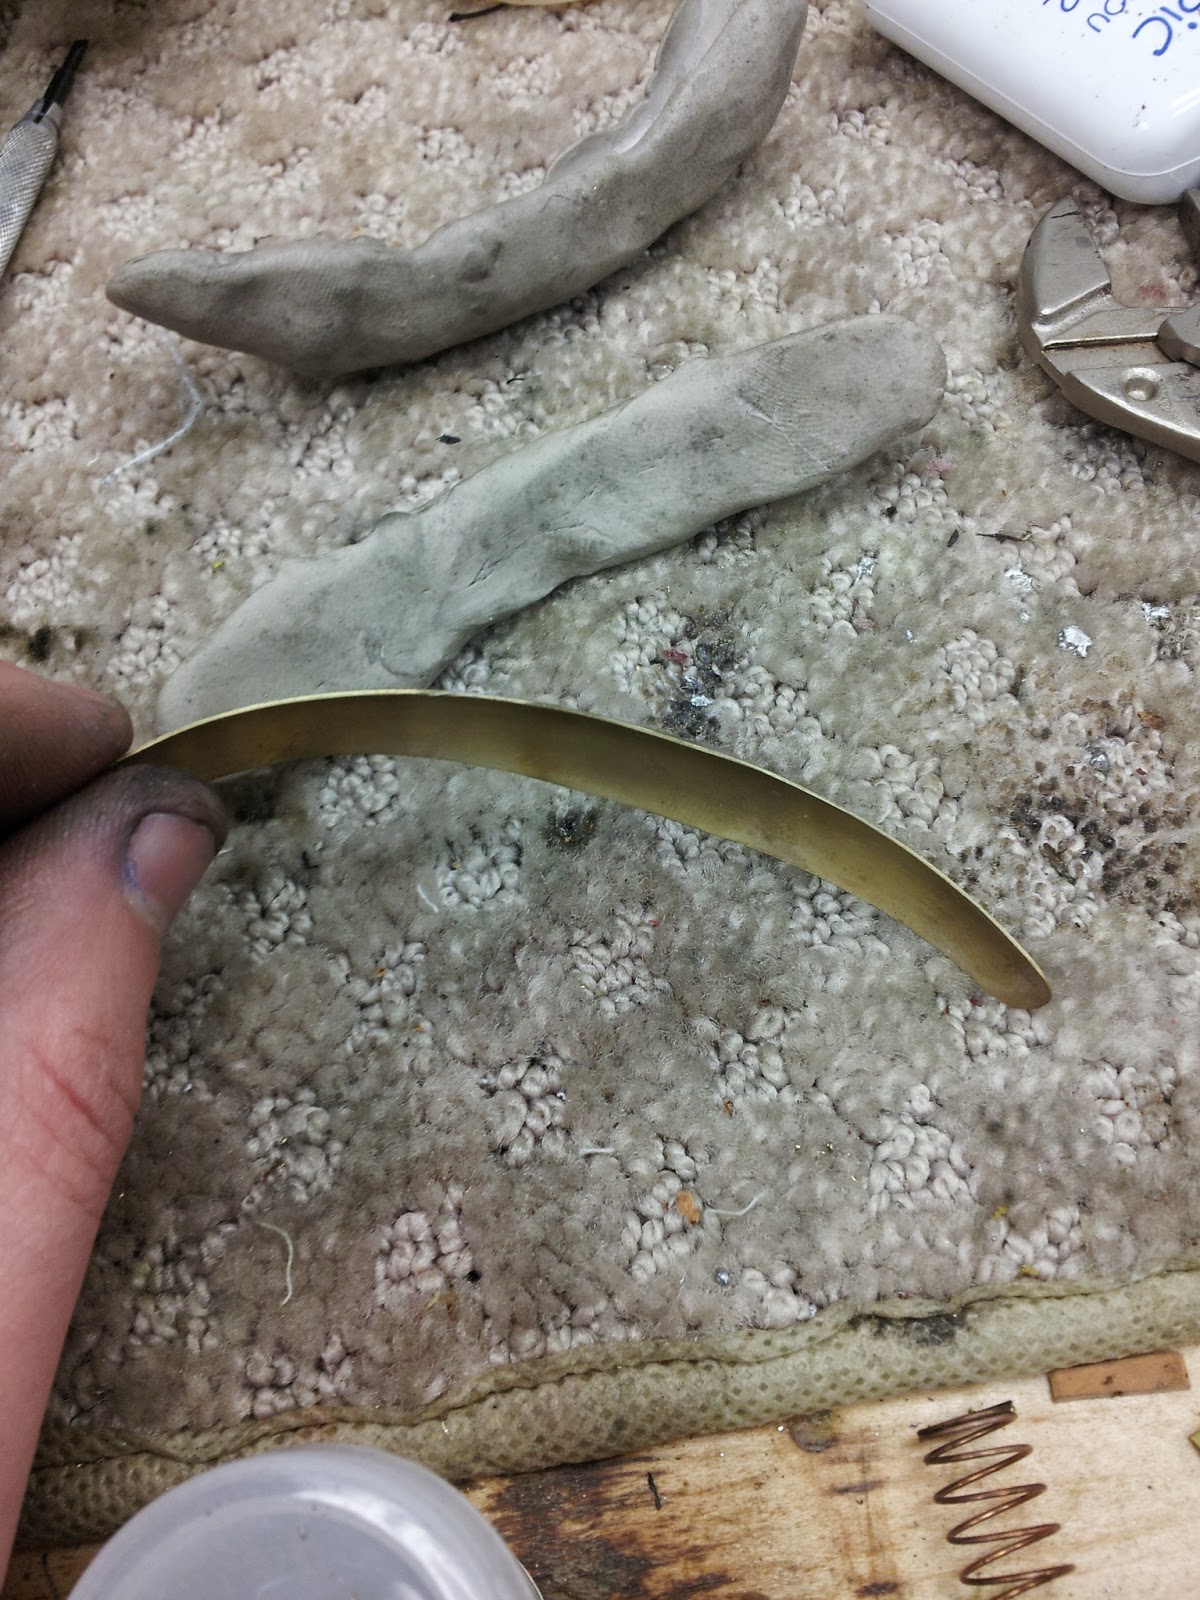
I started out by popping off all of the old patches and cleaning up the tube.


I also found more holes to patch. Fun.

Before I could form patches, I had to remove dents. On this old brittle brass, It wasn't easy. I used a combination of dent rods and MDRS.


Forms were made from epoxy putty. I used them to form patches from annealed 0.012'' brass stock.


Before I finished fitting patches I wanted to trim out the cracks to prevent them from spreading.
Next step was to finish fitting the patches and solder them on. 


Last step was to do a little cleanup.


Like I said, It wasn't going to be a beautiful repair. I do hope it will make it a few decades though. 


Simple Tenon Repair

A clarinet came in for an overhaul. It had some chips out of the middle tenon. Rather than doing a full tenon replacement, I replaced the damaged section.

Here is the damage


While fixing the tenon, I removed the glue grooves. They are unnecessary with modern glues, cause premature cork failure, and are a pain to clean out.

The next step was to turn down the damaged ring past the damage.

Now to make a new ring. I measured the cut on the tenon, and cut a ring about 0.005''id larger. The gap is for the epoxy to have room to adhear.


 I epoxyed it together and let it cure overnight. 


Last step was to trim it back to where it was before the damage.

To length:
 To diameter:

There it is. Simple, quick way to fix tenon damage without replacing the whole tenon. If only the rest of the overhaul went as smoothly. 


Thursday, August 21, 2014

8D Bell Resurrection

Offta. This came in from an area college. They were not willing to replace the bell.     


First step was to round it out as best as possible. Mind you, the nickel silver was paper thin. Here are the results.


Rather than patching each of the hole individually I decided to make a sleeve to both patch the holes and add support to the bell.

I started by cutting out a sheet of nickel silver. I used masking tape to make a pattern of the area I wanted to cover. I then transfered it to the nickel silver sheet and cut it out.  After annealing it I began to shape it into a cone.
=
After it was shaped I silver soldered the seam. 


Next I did a bunch of clean up and shaping. Once It fit onto the bell as I wanted, I soldered it in place.


Here is the Final product.


Trombone Handslide Crook Guard Fabrication

Here's a quick project I did for a bass trombone overhaul.  The slide crook guard needed to be replaced. The part was not available from our suppliers so I went about fabricating one. The total project took me about 45 minutes.

This is the original guard which has been flatted out.

I used the original as a pattern for the replacement.

The next step was making molds to shape the new guard.  I had already removed all the dents from the original crook. I used it and epoxy putty to form the molds. 

 Here is the inner mold formed from the outer.
While the molds were curing, I continued with fabricating the bumper nub. I did this with the bench motor and files.

Next step was to shape the guard. I annealed the brass and pressed it in the molds. 
Some quick silver soldering and cleanup and it's ready to solder on.  

Here is the final product. The trombone was sent out to the silver plater after it was assembled.